My Macbook Pro (13-inch, Mid 2009, 2.53 GHz Intel Core 2 Duo) was bought in December 2009. It is 6 years and 3 months old and counting. Lately, it was showing signs of slowness and hard disk failures more and more frequently. I thought it was time to get a new laptop.
But a new decent laptop cost more than a few thousand ringgits. I hesitated for a long time thinking whether it was a right choice to buy a new laptop (I am not rich).
Another concern was that what could I do with the old Macbook Pro if I decided to get a new computer? Throw it away? Give it to charity? Recycle it for free? After all, many of the parts are still fully functional.
Reusable parts:
- CPU
- RAM
- Keyboard
- Trackpad
- Screen
- CD player
- Etc
CPU and RAM are actually the last parts to die among all parts out of the whole laptop. And Macbook Pro is built to last forever! It would be a huge waste to throw them away just because one or two of the parts are broken!
Based on reading from the Internet and from my personal experience, the most fragile and vulnerable parts are:
- Hard drive
- Battery
- Cooling fan
- Power supply
- Etc
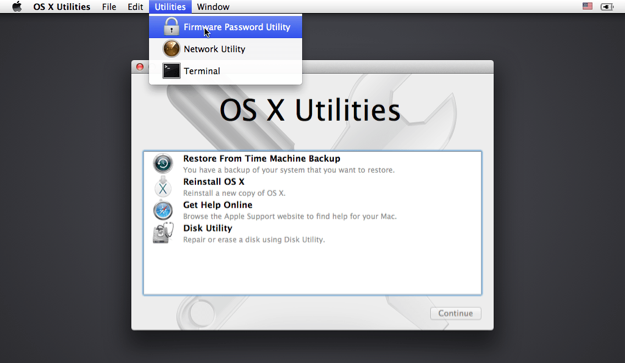
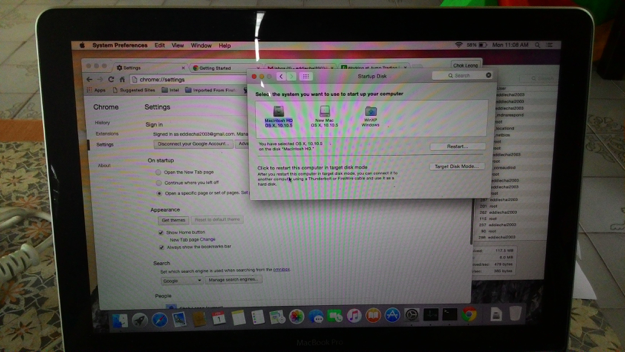
Since I can no longer access the Macintosh HD, the default hard disk of my Macbook Pro, I decided to replace it.
After reading articles and watching videos on the very promising performance of solid-state drive (SSD), I decided to give it a try.
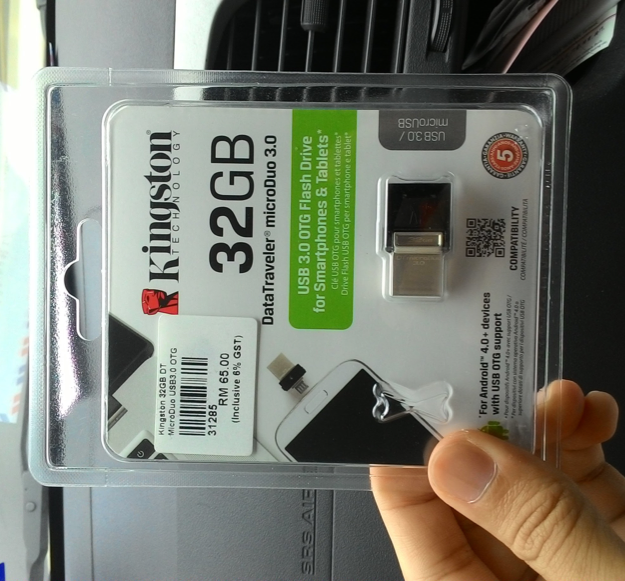
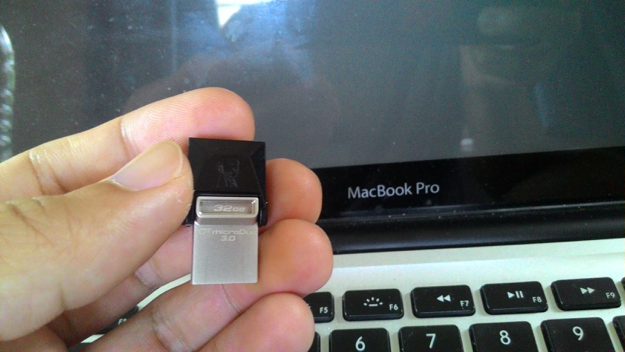
I did my shopping online and found the Kingston V300 SSD. It got my attention because it is the cheapest.
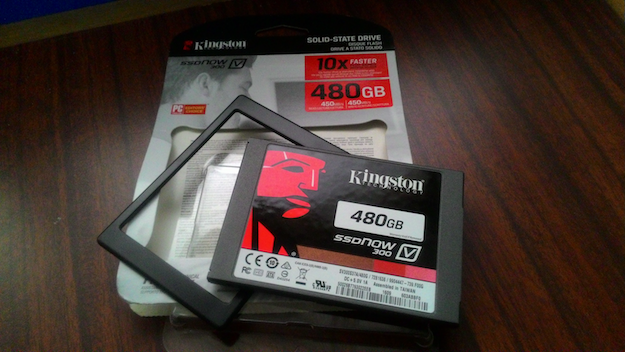
Kingston V300 SSD 480Gb
The Kingston V300 SSD 480GB cost me RM 498 which translates to around RM1/GB. Dirt cheap. I bought it through Shopback from Lazada with discount.
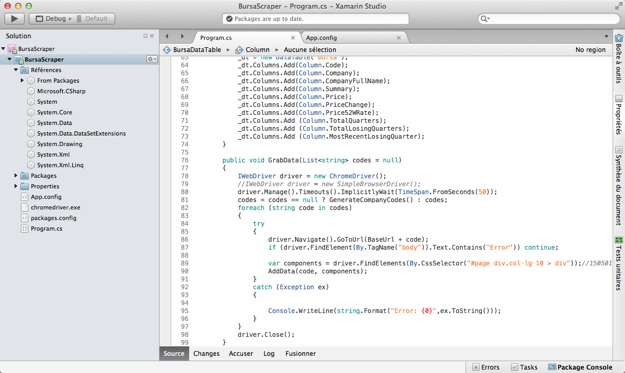
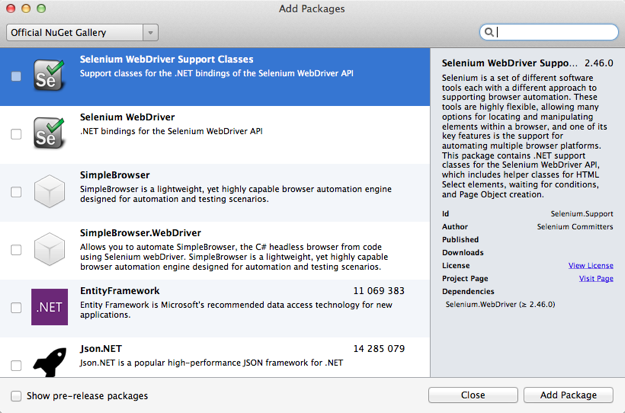
By following installation guide from Youtube, I managed to change the hard drive all by myself.
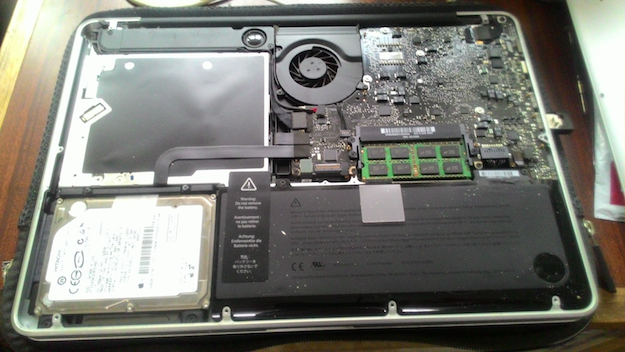
Hard Disk (Before)
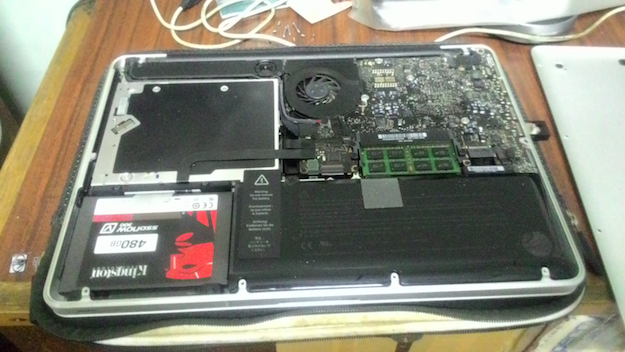
Hard Disk (After)
After cloning the new SSD with the content of my USB drive from last incident, all was set to go.
The result exceeded my expectation. The Macbook Pro suddenly becomes so responsive like a brand new laptop. Booting it up and shutting it down takes just a few seconds!
The Kingston V300 SSD is able to run at the maximum speed that the MCP79 of my Mid 2009 Macbook Pro 13-inch is able to support, which is 3 Gigabit, despite the fact that some people can only get it to 1.5 Gigabit of negotiated link speed.
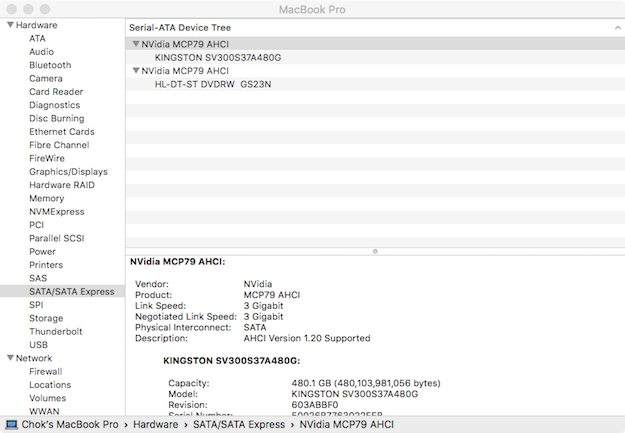
Kingston V300 SSD Negotiated Link Speed is 3 Gigabit
The OS that I cloned to the SSD was Yosemite 10.10.5. Now I upgraded it to El Capitan 10.11.4 and everything is still running smoothly if not better. It is running so silently and fast.
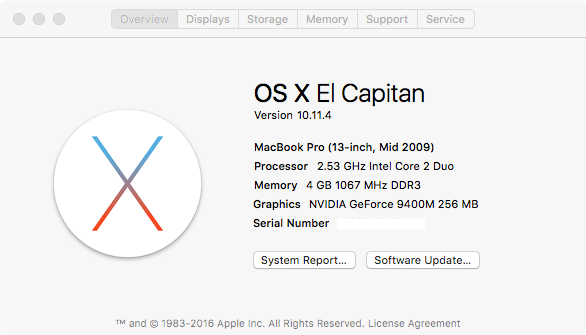
OS X El Capitan 10.11.4
Final thought
I paid RM 498 instead of RM 4999 to get a “brand new” laptop. If I could get a new Macbook Pro at one tenth of the price, why not?
Price is what you pay, value is what you get. – Warren Buffett
At such a low price, it is hard to go terribly wrong.
The speed of SSD is incredible. I recommend it to everyone. It is worth the money because it is 10 times faster and lasts 10 times longer than a mechanical hard disk drive. It is fast and could last for a lifetime! It is such a good investment that you won’t regret it.
My next step is to replace the battery…