Apple MacBook is idiot-proof. I proved this myself.
The incident happened on my unlucky Friday morning, 29 January 2016, where there were some updates available for my six-year-old MacBook Pro. I was supposed to upgrade from OS X Yosemite 10.10.5 to the new OS X El Capitan 10.11.3.
I clicked “upgrade” from the App Store and waited for the laptop to restart. I walked away for some drinks and came back. Everything seemed normal until this point where my stupidity changed the course of the event. When I saw the laptop was shut down (it was actually in the process of rebooting), I pressed the start button to turn the laptop on.
That was when the trouble began. The MacBook Pro was not able to boot correctly. It stuck at the boot screen with (approximately) 50 % in progress forever. I waited 6 hours before I tried to reboot after reading from the internet that Apple MacBook is smart enough to resume the update or upgrade anywhere it left off. So I tried again in the evening (by pressing the start button twice, first long press to shut down, then to boot) and let the laptop booting for the whole night.
The next morning, it was still stuck at 50 % in the startup process (after more than 12 hours of booting). I realized that my situation was different from the others who had the “same” problem. Mine was definitely a different case where something was corrupted (I suspected) because I pressed the start button exactly when the laptop was about to restart.
Recovery Mode
I searched online and found some useful short-cuts to get into different modes while booting a MacBook.
Note: From my experience, in order to enter the different modes successfully, you need to press and hold the key combinations after the white backlight lights up on the screen and you can release them after you see the Apple logo appears during the startup process.
I tried Command-Option-P-R to reset NVRAM: It did reset the NVRAM because I observed that something restarted after I pressed those keys. However, the booting process still hung at 50 %.
I tried Shift ⇧ to enter Safe Mode: I was not able to enter safe mode at all even after waiting for a long time.
I tried Command-S to enter single-user mode: I could enter this mode (with a bunch of texts on the screen), however, it stuck at the place where it needed access to “Macintosh HD”. So I never successfully try anything in this mode.
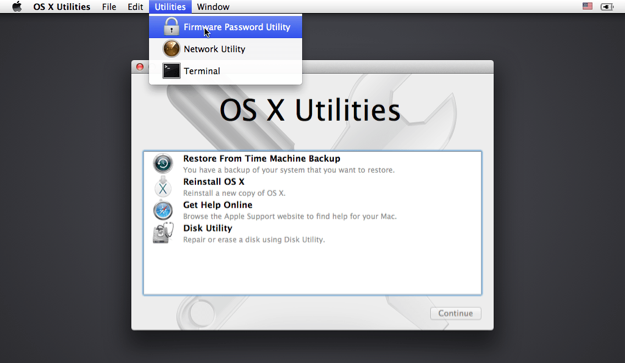
I tried Command (⌘)-R to enter OS X Recovery mode: After successfully entered this mode, I was offered several options.
In recovery mode, you have the following options:
- Restore From Time Machine Backup
- Reinstall OS X
- Get Help Online
- Disk Utility
The first option “Restore From Time Machine Backup” was not useful because I didn’t have any backups from Time Machine.
The last option “Disk Utility” was where I spent the most of my time trying to rescue my old laptop.
Disk Utility
From the Disk Utility interface, I saw that the “Macintosh HD” was greyed out.
I tried almost all the combinations I could think off with the options offered by the Disk Utility to rescue “Macintosh HD”. At first, I thought to myself I needed to perserve my existing data. After trying many different combinations of “solutions” (mount “Macintosh HD” disk, verify and repair “Macintosh HD” disk, restore “Macintosh HD” disk to external drive, etc). All failed.
At some point, I came across this interesting article which states that by keep on repairing the disk N times (with N large enough), it could work. But it didn’t work for me.
I even tried with bash script: “for ((c=0;c<25;c++)) do diskutil repairVolume /dev/disk0s2; done;" Note: disk0s2 is the identifier for “Macintosh HD” drive. Run “diskutil list” on terminal to find out.
All the time I was getting:
“Error: -69845: File system verify or repair failed
Underlying error: 8: POSIX reports: Exec format error”
I was convinced that “Macintosh HD” was corrupted and dead.
Reinstall OS X
Since I was having no success trying to backup my data, I gave up doing it. The idea then was to reinstall OS X on “Macintosh HD” drive, hence potentially overwriting all my files. I was ready to erase and repartition “Macintosh HD”. This failed too. The disk was in really bad shape I thought to myself.
By consequence, the disk didn’t show up as an option when I tried to reinstall OS X. The whole day passed with no progress.
USB Drive to the rescue
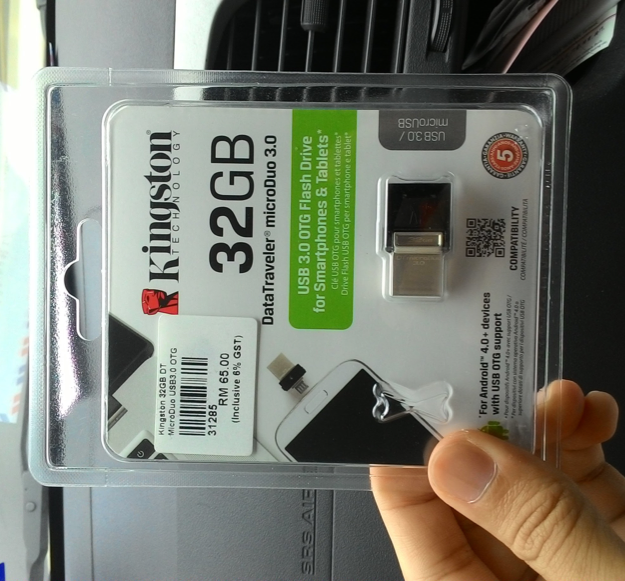
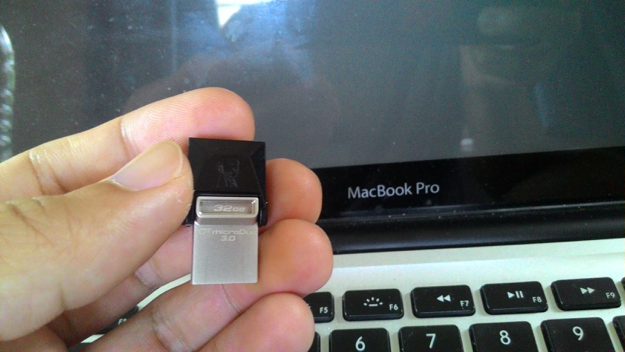
The next day, I had no choice but to install the OS on external drive. I choose the cheapest option: USB drive (at least 15 GB of storage else OS X won’t install).
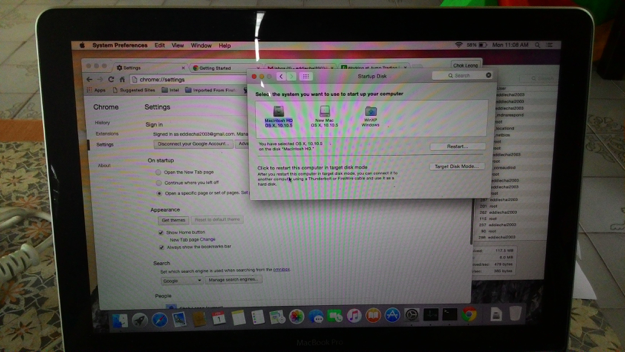
It took at least 6 hours to download the OS and install to the USB drive. At first boot, everything was so slow. The runtime experience was really bad. But I notice one thing when I opened System Preference > Startup Disk, I saw the following:
I saw something unbelievable: the “Macintosh HD” that I thought was dead is now available as a start up disk. Sure enough, after I selected it as the startup disk and rebooted, everything is working as normal again! My data is not lost.
Unbelievable.
Final thought
When Disk Utility can’t repair your disk, reinstall OS X on an external drive and see if your data is accessible again.


